


CABLE DISC BRAKES: ADJUSTMENT
TOOLS NEEDED
| / 3rd hand cable tool |
| / Disc truing tool |
| / Elastic bands |
| / Adjustable wrench |
| / Hex keys [2, 2.5, 3, 4, 5, 6mm] |
| / Torx keys [T20, T25, T30] |
| / Business or playing cards [2pc] |
Step 1: Check brake pads
With the wheel removed from the bike, inspect the brake pads in the caliper. Unlike rim brakes, disc pads don’t have a wear mark, so it’s important to inspect often. Anything less than 1mm of material on the pad means the pads should be replaced. Reinstall the wheel when finished to continue with brake adjustment.
Step 2: True disc
Gently spin the wheel, watch how the disc moves through the caliper. If it does not run straight, you can use a disc truing tool or an adjustable spanner to bend the disc back into shape.
Step 3: Adjust static side of caliper
Depending on you caliper, you will have either a dial or a hex hole as an adjustment of the static pad on the caliper. Unscrew the static side all the way. Loosen the caliper fixing bolts of the frame or fork so you are able to move the caliper. Line up the caliper body so that the rotor runs evenly between the two pads and then tighten the fixing bolts back up. Place two business cards between the rotor and the static pad and screw the static pad back into the caliper until it touches the business cards. Remove the business cards and spin wheel to ensure the rotor is not contacting the static pad.
Step 4: Adjust piston side of caliper.
You now need to locate the barrel adjuster.It can usually be found on the caliper, integrated into the cables near the head set, or in one of the cable stops on the frame. Screw the barrel adjuster all the way in and then back it out by one full turn. Using a hex key, release the cable fixing bolt on the caliper. Place two business cards between the rotor and the piston side pad. Using a 3rd had tool, squeeze the cable to the caliper closes against the business cards. Tighten the cable fixing bolt and remove the business cards. Spin the wheel. The rotor should spin freely between both pads.
Step 5: Fine tune
If the brake lever is pulling back to far wind the barrel adjuster out and try again this should take care of it. If it doesn’t, you need to re-adjust the cable on the caliper (Step 3 and 4).
Step 6: Check brakes
It’s really important to check the brakes before you ride the bike. With the bike on the groud, squeeze the front brake lever and push the bike forward. Then squeeze the back brake and pull the bike back. The wheels should remain locked during this process
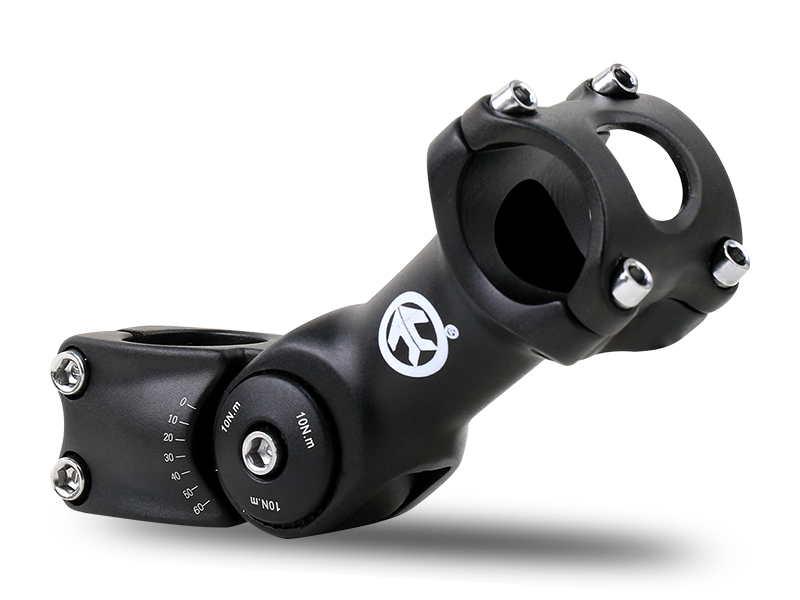
HANDLE BAR: INSTALLATION AND ADJUSTMENT
1.Handlebar angle:
Handlebars usually will have both an upsweep (bend) and a back sweep. This allows you to rotate the bar to find the optimal position to fit your riding style. Loosen the stem faceplate until you can rotate the handle bar. Standing over the bike top tube, grip the handlebar grips. Rotate the bar back or forth until you find the position best suited for you. Then tighten the faceplate bolts back to the specified torque setting.
2. Brake position:
To set the lever position, loosen the bolt on the shifter and brake unit just enough that you can move them freely. Move the shifter out to the way while you adjust the brake lever. Position your body on the bike in your normal riding position and grip the handlebars. With your braking fingers on the lever, rotate the lever until you wrist is straight and in line with your forearm. While maintaining the angle, move the lever in on the handlebar until the lever is aligned with your index finger. Tighten the lever fixing bolt.
3. Shifter position
Move the shifter unit so that you can comfortably reach the up and down lever then re-tighten. If you find that you are unable to reach the shifter, you might need to consider moving the entire unit to the other side of the brake lever clamp.
REAR CASSETTE: REMOVAL AND INSTALLATION
TOOLS NEEDED
| / Adjustable spanner |
| / Lock ring tool |
| / Chain whip |
| / Cloth or paper towel |
Step 1: Remove the rear wheel from the bike frame.
You should place it firmly on the floor. If your wheel has a QR, remove it.
Step 2: Removing the cassette
Place a cassette lock ring tool into the lock ring and adjust the spanner to fit. Take a chain whip in your left hand and lay the links over the top of the 2nd largest ring of the cassette. In your right hand, place the spanner over the lock ring tool. The chain whip should be in the 10 o’clock position, and the spanner in the 2 0’clock position. Push both hands down until you hear the cassette lock ring rotate. Remove the whip and spanner and unscrew the lock ring by hand. You can now slide the cassette off the free hub body.
Step 3: Preparing the free hub body
At this point, it’s a good idea to clean off the free hub body and apply some grease.
Step 4: Installing the cassette
Starting with the largest rings of the cassette, place them onto the free hub body, along with any spacers. You need to pay attention to the location of the spline. When the cassette is back in place, put the lock ring tool back into the lock ring and thread the lock ring back onto the free hub body. Use the spanner to tighten the lock ring to the specified torque.
CABLES: REPLACING A SHIFTER CABLE
TOOLS NEEDED
| / Hex key [2, 2.5, 3, 4, 5, 6mm] |
| / Cable cutter |
| / Philips screw driver |
| / Flat screw driver |
| / Ferrule |
| / Replacement cables and casing |
| / Spray lube [silicon / teflon] |
| / Cloth or paper towel |
Step 1: Remove the old cable
Shift the shifter and chain into the smallest rear cog. Cut the inner wire cable end off the cable, then loosen the cable fixing bolt holding the cable to the derailleur. Starting at the shifter, pull the inner cable out until it’s free from the cable casing and shifter. Be sure to note where the cable exited the shifter, so you can easily install the new one.
Step 2: Preparing new cable casings
Cut the cable casing to match the original length using the cable cutters and add casing ferrule to each side of the new cut pieces.
Step 3: Replace inner cable
Feed the cable into the shifter through the guide hole. Run the inner cable out of the shifter and then through the length of the new cable casings until you reach the rear derailleur. Make sure all cable casings are firmly seated in the frames cable stops before proceeding. Pull the inner cable tight and route it into the cable fixing bolt. Tighten the fixing bolt onto the cable.

